
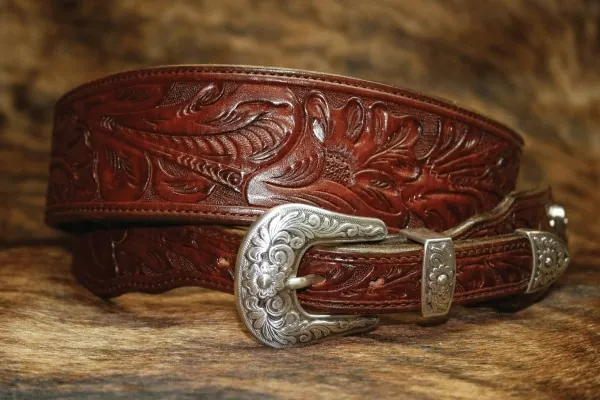
A leather guitar strap looks simple until you try to make one that hangs right, feels good through a set, and still looks better after years of use. The difference is not a secret ingredient. It is the sequence: fit first, clean construction next, then the detail work.
This guide covers a sound approach to making a leather guitar strap, from the first measurement to the final edge. It is written for someone making a first straightforward strap, but the same decisions matter in a fully lined, hand-tooled, beaded piece. The more detail you add, the more important the foundation becomes.
Start with the job the strap needs to do
Before buying leather or drawing a pattern, decide what guitar the strap will live on. A light acoustic, a hollowbody, and a heavy solidbody do not ask the same thing from your shoulder. Neither does a player who sits for an hour at home versus one who stands through a long rehearsal or set.
Think about three things: the guitar’s weight, your playing height, and how much adjustment you need. A fixed-length strap is clean and direct when one guitar always hangs at one height. An adjustable strap makes more sense when you change instruments, share the strap, or alternate between sitting and standing. Current Southwest Distinctions guitar straps can be made either way, because the right answer depends on the player rather than a stock setting.
Width belongs in this early decision too. A broader shoulder area distributes the feel of a heavy guitar over more of your shoulder. It is not a magic cure for every comfort issue, but it is the sensible place to begin when a narrow strap feels like it is digging in. Make a paper or webbing mockup at the intended width and wear it with the guitar before you cut expensive leather.
Choose leather that matches the work
For a strap that will be carved, stamped, dyed, or burnished at the edges, vegetable-tanned tooling leather is the traditional starting point. It has enough body to take a clear impression and enough unfinished surface to accept dye and finish. Hermann Oak describes its traditional vegetable-tanning process and natural tooling leather as work built around firmness, workability, and a clean surface for leathercraft.
Leather weight is a balancing act. Too thin and the strap can feel insubstantial, stretch too easily, or show every bit of hardware stress. Too thick and a simple strap becomes stiff and slow to settle in. For a decorative top layer, a sturdy tooling leather paired with a lighter lining is a common, comfortable construction. The best combination depends on the width, the guitar, the hardware, and whether the strap will be padded.
Inspect the hide before you lay out the pattern. Keep deep scratches, loose grain, weak spots, and large scars away from strap-button holes and the narrow adjustment tail. Natural marks are part of leather, but the two ends carry the load. Save the most even, strongest sections for those areas.
Make a full-size pattern before cutting
Use paper, poster board, or a thin scrap of leather to work out the complete strap. Start with the playing length, measured from strap button to strap button while the guitar is hanging where you want it. Add the shape of both button ends, the shoulder width, and any adjustment section. A commercial kit or pattern can be useful for learning the basic proportions, but treat it as a reference point, not a universal fit.
Lay the mockup on your shoulder and check it with the actual guitar. Look for a shoulder section that lands where you need it, not a decorative panel that drifts toward your neck or elbow. If the strap will be fixed length, give yourself enough room to get it on and off without forcing the button holes. If it will adjust, make sure the tail has room to move without becoming so long that it hangs awkwardly below the body.
Once you have the shape, transfer it to the leather with a light, accurate line. A sharp knife and a long straightedge matter here. Ragged cuts do not disappear under dye or edge paint. The cleanest straps begin with clean lines.
Cut and shape the load-bearing ends carefully
The strap-button ends are small, but they are where the guitar is actually supported. Mark their center points and keep both ends symmetrical. Punch the round part of the button hole with the correct punch, then make the short slit that lets the hole slide over the button. Test the fit before you dye, stitch, or finish anything.
The goal is secure, not brutally tight. A hole that is too loose can let the strap work free. A hole that is too tight makes the leather fight the button and encourages stretching or rough handling. For a valuable, heavy, or regularly gigged guitar, consider a quality strap-lock system as an added layer of security. The strap still needs sound leather and a cleanly cut hole underneath it.
Round the outer corners and bevel the exposed edges before you start decorative work. This is a small step that makes the strap feel finished in the hand and prevents sharp corners from catching on clothing or a case. It also gives the edge a better surface to burnish later.
Tool and decorate before final assembly
If you plan to carve or stamp the strap, do that while the top leather is still flat and easy to control. Lightly case the vegetable-tanned leather, then work your border, carving, basket stamp, floral pattern, or other design. Let the pattern serve the strap’s shape. A narrow border can frame the shoulder without crowding it, while a bolder central pattern needs enough quiet leather around it to read cleanly.
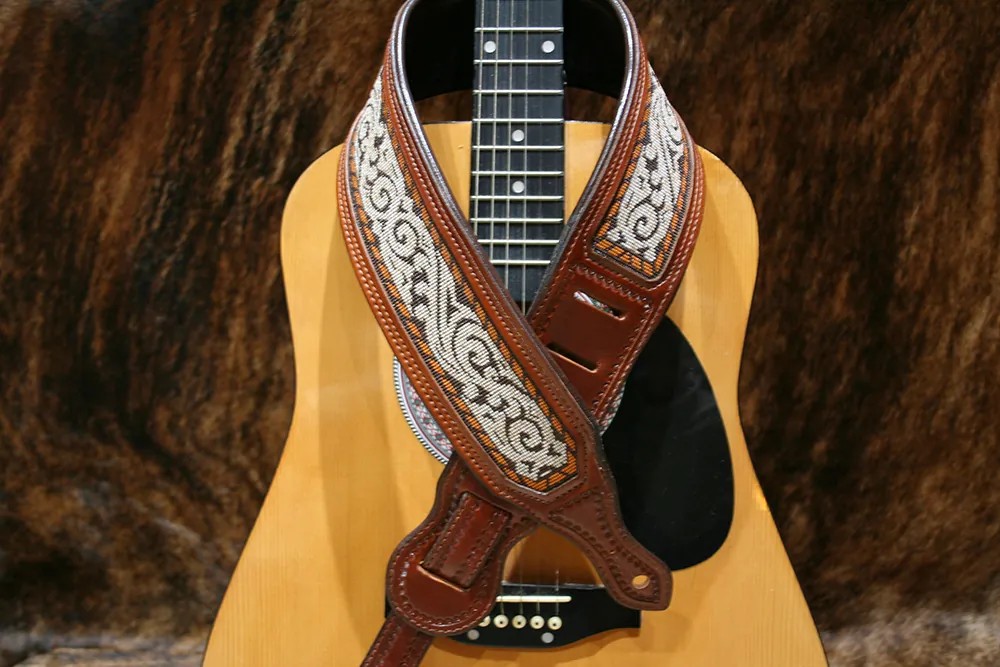
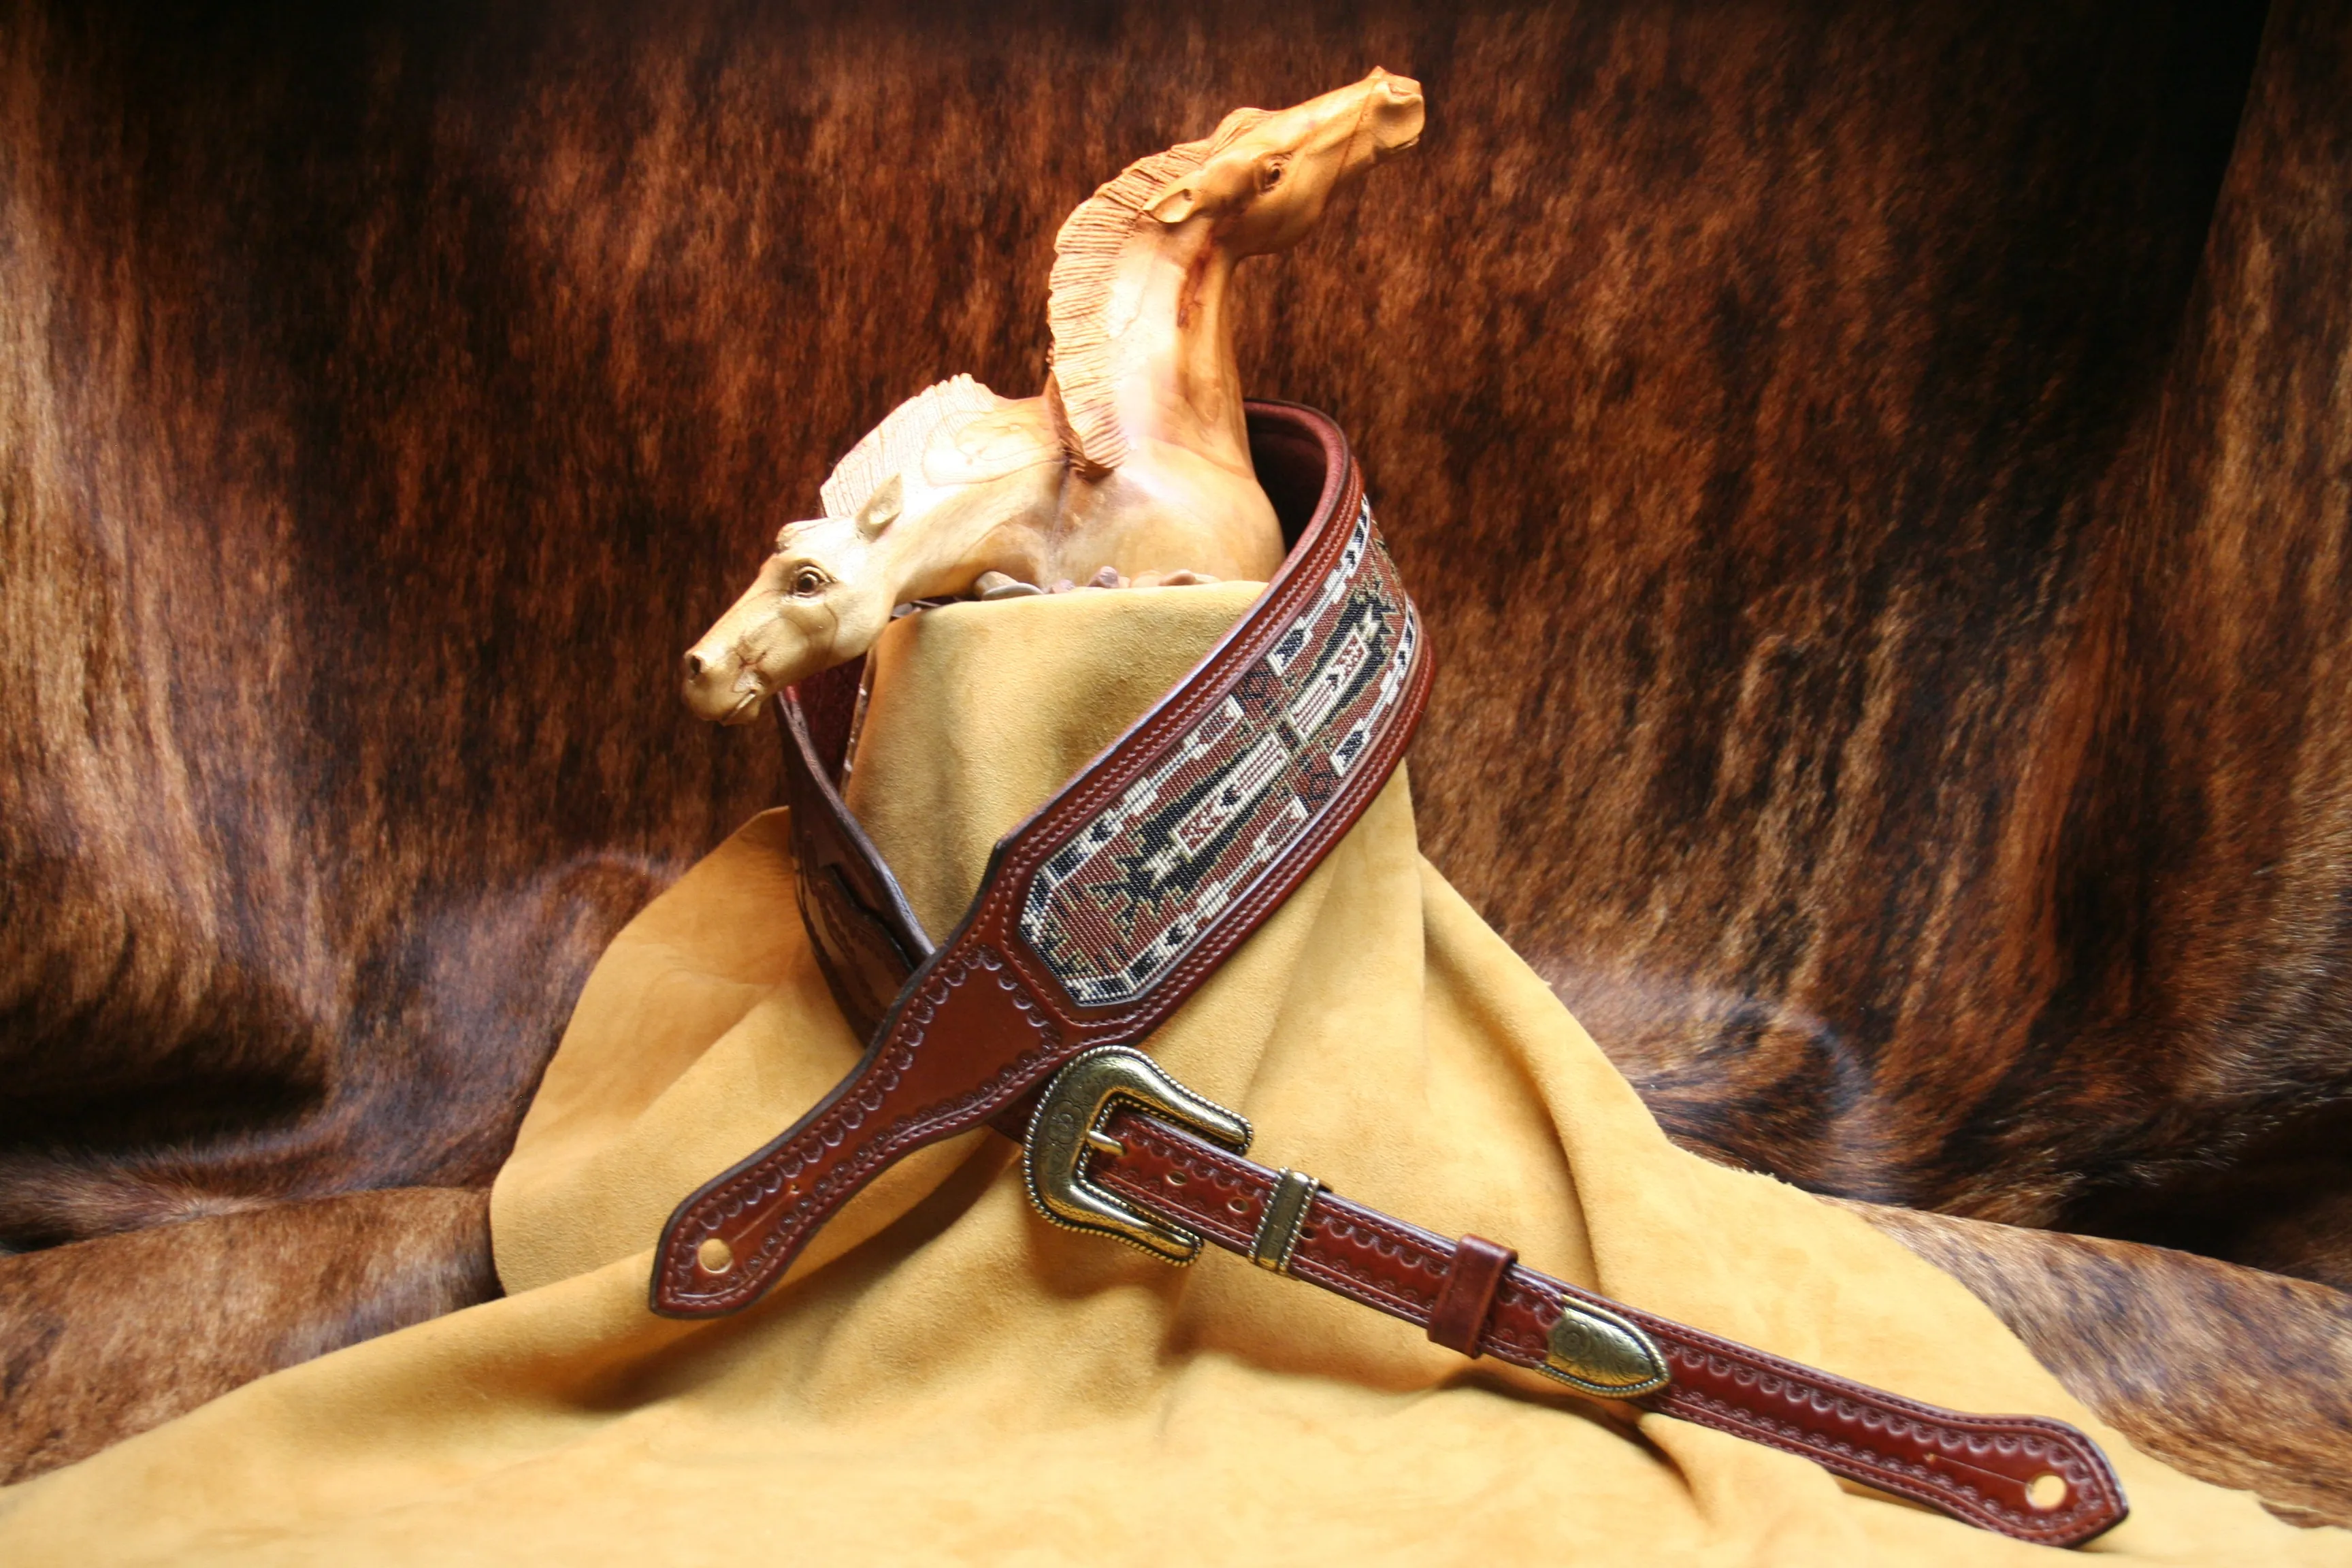
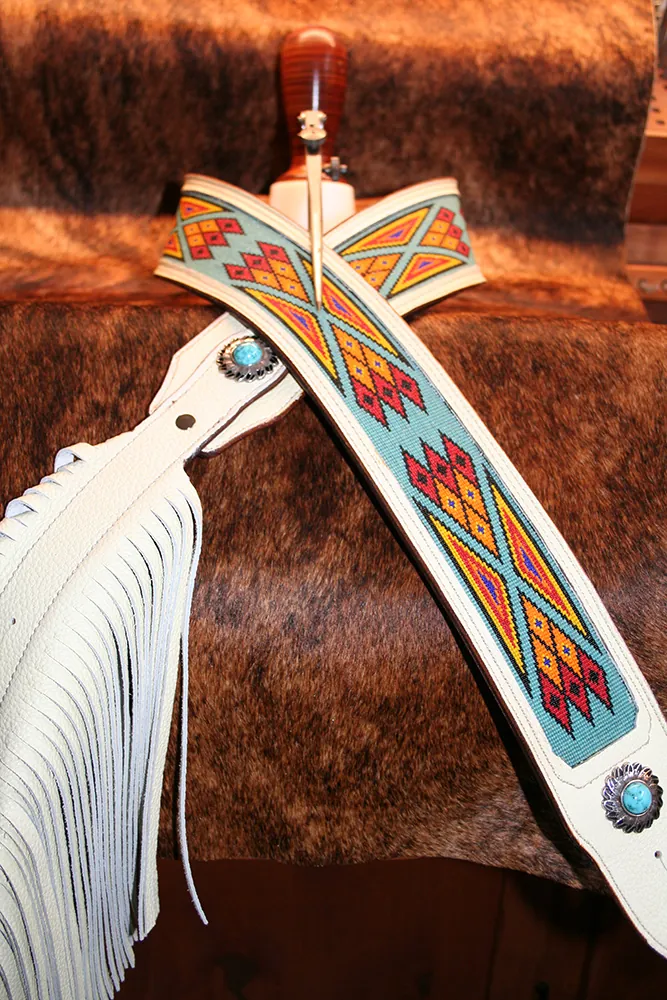
This is also the stage for an inlay or beadwork channel. On Southwest Distinctions pieces, hand-loomed beadwork is set into a recessed leather field rather than treated as a loose ornament. That approach lets the design be part of the strap’s construction. The current collection shows how tooling, beadwork, conchos, and leather color can work together without competing for attention.
Dye after your carving and stamping are complete, then allow it to dry fully before applying antique, resist, or finish. Test the full sequence on a scrap cut from the same hide. Vegetable-tanned leather is intentionally left receptive to finishing and develops character with use, as Horween explains in its overview of vegetable-tanned leather. A test piece is much cheaper than discovering a problem on the finished shoulder section.
Add a lining or padding when the design calls for it
An unlined strap can be a good first project. It is straightforward, relatively quick, and makes the material and edge work easy to see. A lined strap adds comfort, structure, and another finished surface, but it also asks for precise cementing, trimming, stitching, and edge work.
When lining a strap, cut the lining slightly oversize, join the layers carefully, then trim them together for one clean outline. Mark a stitch line that stays a consistent distance from the edge. A recessed stitch groove is worth the effort on a working piece because it gives the thread some protection from abrasion. If you are adding padding, keep it controlled in the shoulder section and taper it before the ends so the strap does not become bulky at the buttons or buckle.
Let adhesive set according to its directions before you stitch. Rushing this part can let layers creep out of alignment, and no amount of tidy thread will make a crooked construction line look intentional. Hand stitching takes time, but a steady stitch line is one of the clearest signs that a strap was made with care.
Finish the edges and test the fit again
Edges are where a handmade strap announces its quality. Sand them even, bevel them, apply water or your preferred burnishing medium, and work them until they are smooth. Repeat as needed. Do not rush through the edge just because the front looks finished. The player feels the edge every time the strap is handled, rolled up, or pulled through an adjustment.
Apply a suitable leather finish, allow it to cure, then install any buckles, adjustment hardware, conchos, or strap locks. Put the strap on the guitar and check every part of the experience: button-hole fit, adjustment range, balance at playing height, hardware orientation, and whether any part of the strap twists under load.
For a fixed strap, this is your last chance to confirm the length before it becomes permanent. For an adjustable strap, check the whole range, not just your favorite setting. A design that looks good at the middle position should still work cleanly at both ends of its adjustment.
When a custom-made strap makes more sense
Making a simple strap yourself is a rewarding way to learn what goes into it. It also makes clear why the complicated ones take time. A hand-tooled, lined, padded strap with a custom fit, a woven beadwork inlay, and carefully chosen hardware is not just a longer version of the same project. It is several craft disciplines meeting in one piece.
That is where a custom order earns its place. Southwest Distinctions builds straps from Hermann Oak leather in Gold Canyon, Arizona, with fixed or adjustable fittings, padded or non-padded construction, and details chosen around the player and guitar. You can begin with the guitar strap collection, read how to measure for a custom piece, or use the custom order page to talk through the fit, leather color, and design.
Four mistakes that are easy to avoid
First, do not guess at the finished length from a product listing or someone else’s guitar. Measure your own playing height. Second, do not cut the strap-button holes before testing their placement on the guitar. Third, do not apply dye, finish, or antique without making a sample on the same leather. Finally, do not let a decorative pattern dictate the shape of the shoulder section. The strap has to carry the guitar comfortably before it has any job looking good.
A good strap does not need every possible detail. A simple, well-cut, properly finished strap is more useful than an ambitious project with uneven holes, rushed edges, and hardware that twists under load. Get the fit and construction right first. You can always make the next one more elaborate.
A short checklist before you call it done
Before the strap goes on the guitar for good, check that the button holes are secure, the left and right edges are even, the adjustment range makes sense, and the decoration does not interfere with the strap’s bend or hardware. Make sure the finish is dry and the lining is smooth. Then wear it for a while. The best final inspection is not a photograph on a workbench. It is a guitar hanging comfortably where it belongs.
Questions about making a leather guitar strap
What leather is best for a handmade guitar strap?
Vegetable-tanned tooling leather is a good choice when you want to carve, stamp, dye, and burnish the strap. A finished lining leather can make the shoulder side smoother and help the strap feel more considered against clothing.
How wide should a leather guitar strap be?
Choose the width around the guitar and the way you play it. A heavier solidbody generally benefits from a broader shoulder section, while a lighter guitar can be comfortable on a narrower strap. The best test is to mock up the width with paper or webbing and wear it at playing height.
How long should a leather guitar strap be?
Measure while standing with the guitar at the height you actually play. Include the distance from one strap button to the other, then allow adjustment room if you use more than one guitar or move between sitting and standing.
Can a beginner make a leather guitar strap?
Yes, a simple unlined strap is a sensible first leather project. Tooling, lining, hand stitching, and custom hardware add skill and time, so it is wise to begin with a clean pattern, sharp cuts, and a careful fitting before taking on more elaborate work.
Related posts
Guest post
Saddle Leather on a Stage: Western Straps and Rock
A guest post from Arizona vintage-guitar dealer Joe on the saddle-making roots, comfort, and lasting character of a well-made leather guitar strap.
Read Joe’s article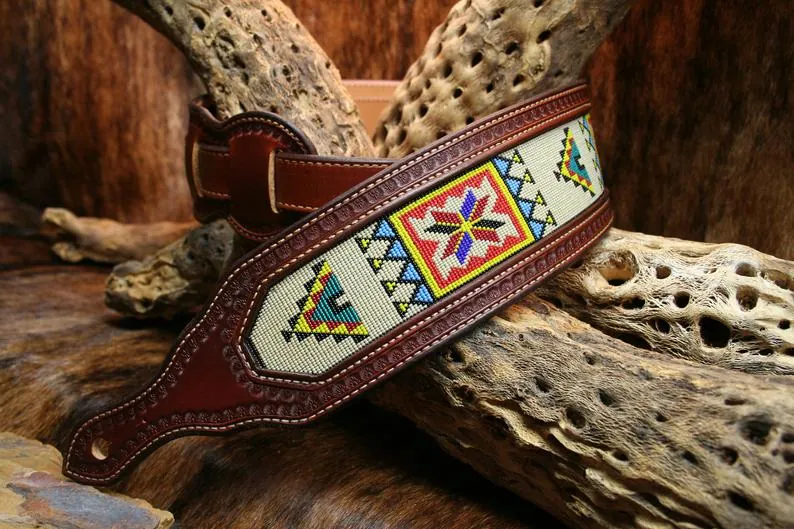
Fit guide
How to Adjust a Leather Guitar Strap
A practical way to set the right length, playing height, and comfort for a leather guitar strap.
Set your fit