
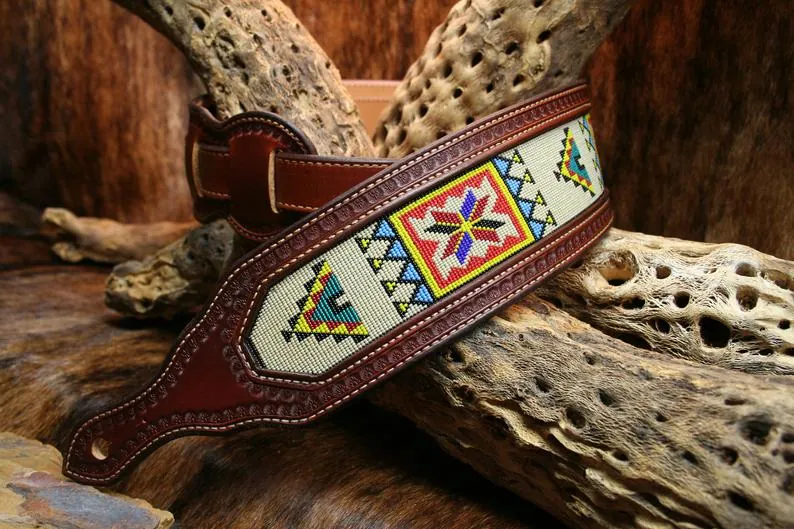
The right guitar strap length is not a number on a package. It is the setting that lets your hands land where they need to, keeps the guitar steady, and still feels good after a full rehearsal or set. A leather strap is worth adjusting carefully because a small change in length can change the whole experience of playing standing up.
This guide shows how to adjust a leather guitar strap without guessing. The goal is not to copy another player’s stage look. It is to find a repeatable position for your guitar, then make sure the strap, its ends, and its adjustment hardware are working safely at that setting.
1. Start with the guitar you actually play
Put the strap on the instrument you use most. A light acoustic, a heavy solidbody, and a long-scale bass can all feel right at different heights. Do not set a strap by holding an empty loop against your body or by measuring it flat on a table. The useful measurement is the one you get with the guitar hanging from both strap buttons.
Before you change anything, look closely at the leather ends and the buttons. The holes should seat fully around the button heads, with the slit lying flat instead of being forced open. If a hole is cracked, badly stretched, or does not hold securely, stop there and deal with that before you adjust length. Fit and security come before comfort.
On an acoustic with only one strap button, use the attachment method recommended for that instrument and check that it is secure. Do not decide a length while you are also fighting an unstable neck-end tie. The same rule applies to a new locking system. Get the strap attached correctly first, then work on height.
2. Find a neutral standing position
Stand as you normally would when you play. Let your shoulders drop and keep the guitar close enough that you are not reaching forward to hold it in place. Start around the height where the bridge sits near your belt line or pocket. That is only a starting point, not a rule.
Many players find it useful to begin from their seated position. Let the strap hold the guitar where it naturally rests against your body, then use that familiar relationship as a reference point before you begin testing the smaller details of standing posture.
Then play three things you know well: an open-chord change, a barre chord higher up the neck, and a short picking or bending passage. Pay attention to what your hands do. If your fretting wrist folds hard underneath the neck, raise the guitar a little. If your picking shoulder lifts or your elbow feels pinned, lower or rotate the guitar slightly before making a larger change.
3. Adjust in small, repeatable steps
Leather straps usually adjust with a buckle, a series of slots, or a tail that moves through holes. Change only one position at a time. A one-hole move can be enough to tell you whether you are heading in the right direction. Big jumps make it harder to notice what improved and what did not.
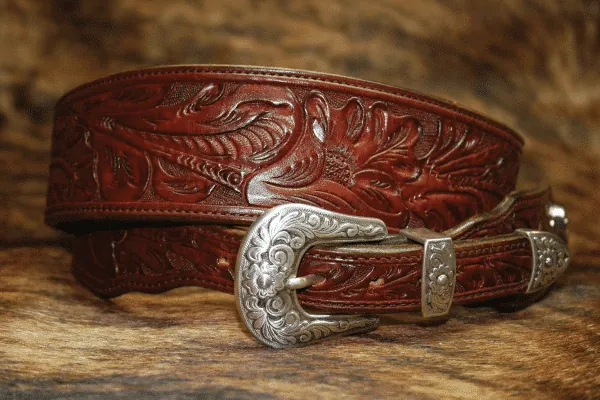
For a buckle strap, unweight the guitar before moving the buckle. Lay the strap flat, shift the buckle or tail to the next hole, and make sure the leather has not twisted when you put it back on. For a slot-style adjustment, slide the leather cleanly into the new position and press it flat. Do not pull so hard that you distort the slit or stretch the end around the hardware.
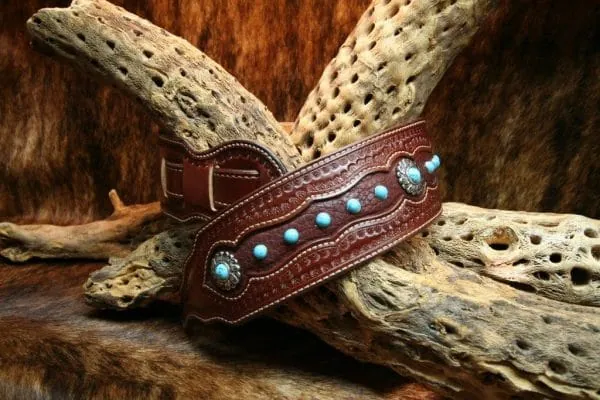
Some handmade straps have one adjustment area, while others have hardware at both ends. When both sides adjust, keep the buckle hardware where it will not press into your shoulder or scratch the guitar. The cleanest setup is usually the one that keeps the decorative shoulder section centered and the hardware away from the parts of the strap that move against you most.
4. Test your playing, not just your pose
A strap can look right in a mirror and still be wrong once you start playing. Spend a few minutes standing with the guitar at each setting. Use the same small group of movements every time so you can compare one position to the next: first-position chords, a passage above the twelfth fret, a bend, palm muting, and anything that has given you trouble while standing.
Keep the guitar from swinging by setting the strap so it lightly supports the instrument rather than letting the body hang far out from you. You should not need to grip the neck harder just to keep the guitar in place. The strap is there to support the instrument, which frees both hands to play.
There is no universal “correct” height. Yamaha’s playing guidance for new guitarists makes the sensible point that comfort while playing should decide strap height. Style matters onstage, but it is a poor reason to keep a position that makes your hands work harder every time you play.
5. Use your wrists as the final check
Watch your fretting wrist on the lower strings and through a chord that uses a stretch. If the guitar hangs too low, your elbow may pull away from your body and your wrist may fold sharply before your fingers can reach the fretboard. Raising the guitar a little often gives the hand a more relaxed angle and makes difficult changes feel less like a reach.
Now check the picking hand. If the guitar is too high or too close to your chest, the picking shoulder can creep upward. Lowering the strap one step, changing the neck angle, or moving the guitar slightly across your body can solve that without sending the whole guitar down to an awkward height.
A useful test is to compare standing and seated playing. Your posture will never be identical in both positions, but the basic relationship between your hands and the guitar should not feel foreign. If a part is clean while seated and suddenly impossible when you stand, strap height is one of the first things worth checking.
6. Match width and length to the instrument
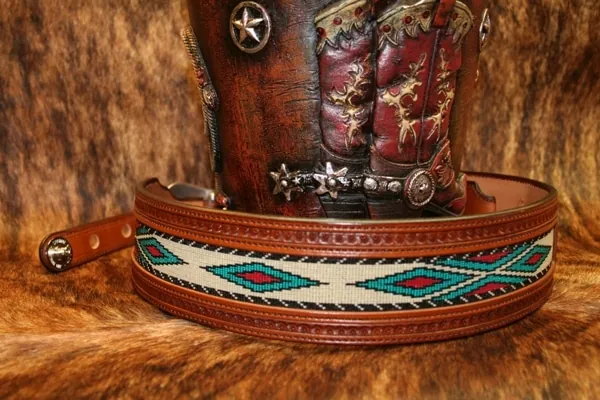
Length sets height. Width changes how the instrument feels over time. If a heavy guitar still feels tiring after you have found a usable height, a wider shoulder section may matter more than another inch of adjustment. A broader leather shoulder section spreads the feel of the instrument over more of your shoulder, which is a useful distinction for a heavy solidbody or bass.
That does not mean every guitar needs the widest strap possible. A light instrument can feel fine on a narrower design, and a wide strap that is too short still creates a poor playing position. Think of width and length as separate decisions. Set the guitar where your hands can work, then choose the shoulder support that makes that position comfortable for the time you actually spend playing.
This is also why a long adjustment range can be valuable. Pardo’s strap-length comparison places many standard adjustable straps around 55 to 60 inches at full extension, while longer straps can give taller players or low-slung players more room. Treat those figures as shopping context, not a substitute for testing your own guitar and body.
7. Make sure the strap stays secure at the new setting
After every adjustment, take the guitar off and inspect both ends again. The leather should sit squarely under the button head. Check that the buckle tongue is fully through its hole or that the slot is completely seated. A strap that looks tidy but is only half-engaged is not ready for a rehearsal room, much less a stage.
If you use strap locks, make sure both locking pieces are fully engaged after you change the strap. Locks are useful protection, but they are not a substitute for sound leather and correctly installed buttons. Do not force a leather hole onto a button that is obviously too large, and do not try to cure a loose hole with tape, glue, or a knot in the strap.
New leather can take a little time to relax into its working shape. Play at your chosen setting for a few sessions, then check the fit again. A quality leather strap should settle, not suddenly grow. If the adjustment has changed enough to alter your playing position, move it back one step and look for the reason rather than continuing to chase the length.
8. Know when the strap needs a different length
If you are at the shortest setting and the guitar is still too low, the strap is simply too long for the position you want. If you are at the longest setting and the guitar is still too high, you need more length. Reaching the end of the adjustment range is useful information. It is not a problem to solve by modifying the load-bearing leather at home.
For a fixed-length strap, measure only after you have found the height you like with an adjustable strap or a temporary setup. Wear the guitar standing up, settle it at your preferred playing position, and measure from strap button to strap button along the path the finished strap will follow. Repeat the measurement before ordering. One careful measurement beats a pretty strap that lives in the case because it is an inch off.
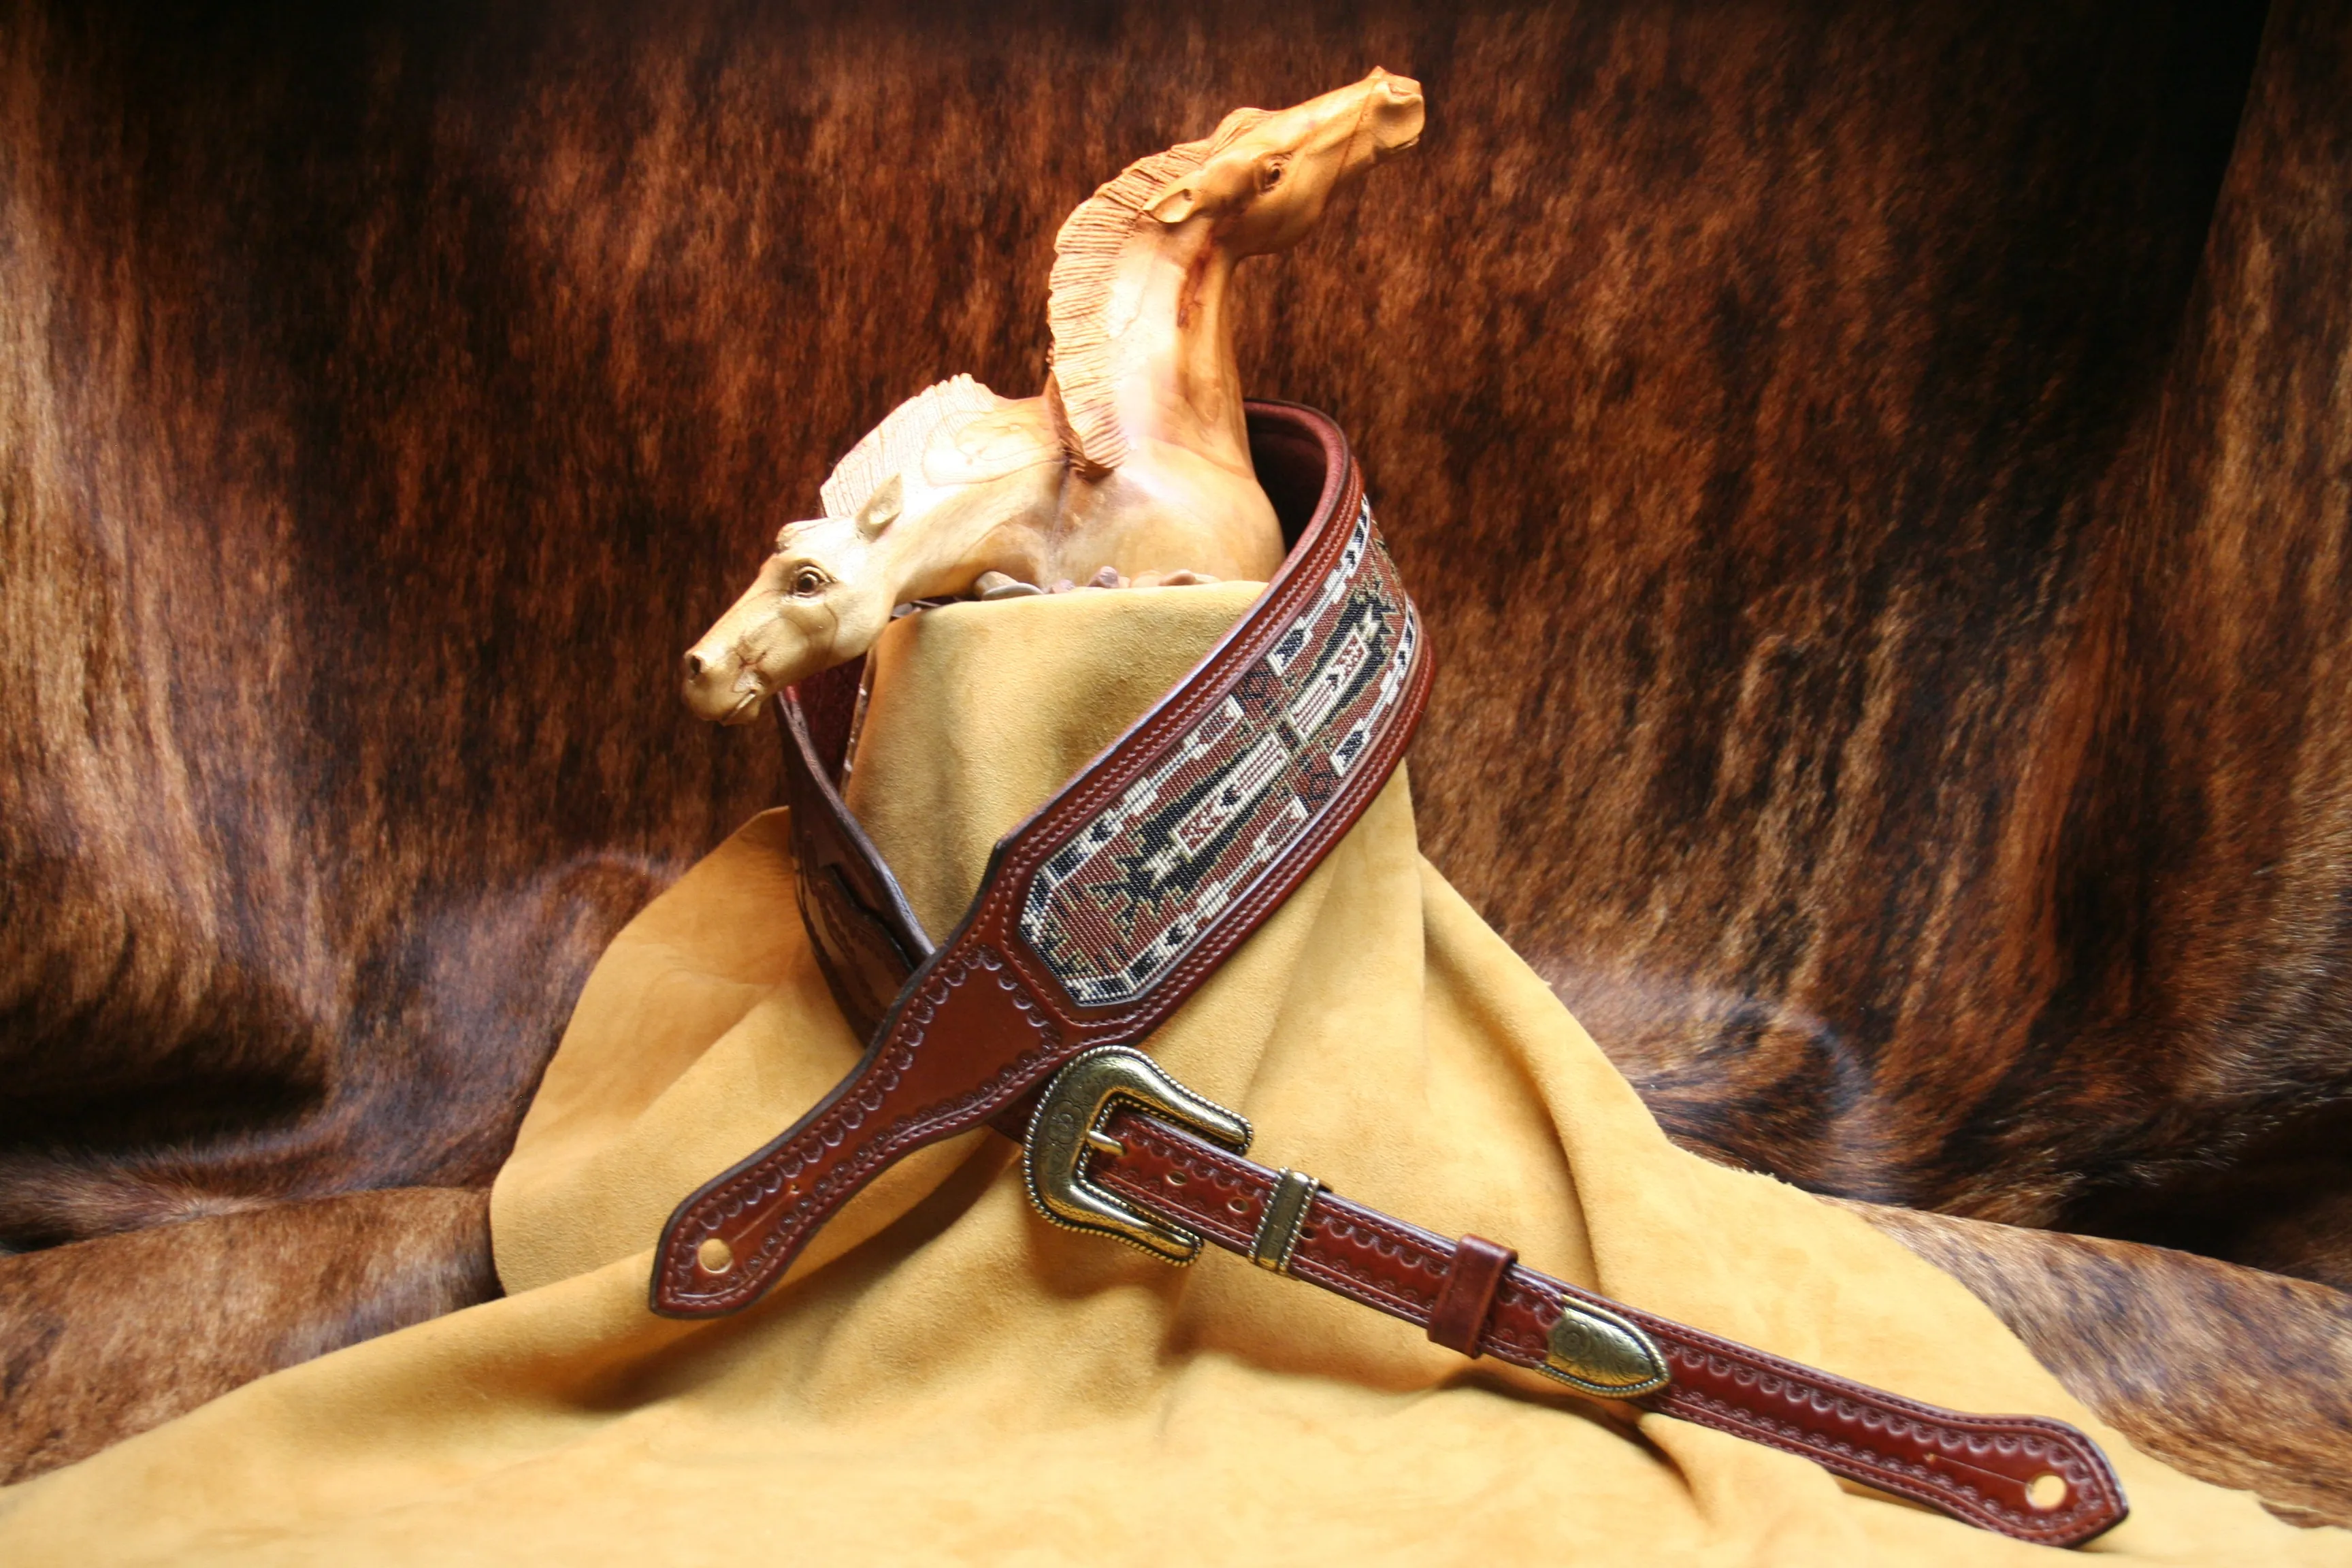
Southwest Distinctions can build a strap around a player’s preferred length, whether the design calls for a fixed length or an adjustable fitting. The current guitar strap collection is a good place to see the materials and styles, while the custom leather guitar strap page explains the choices that shape a made-to-order piece. For the craft details behind a strap, read the Journal’s guide to making a leather guitar strap.
9. Keep a simple record of your best setting
Once you find the right spot, write it down. Note the buckle hole, the slot number, or the measured button-to-button length, along with the guitar you used. This is especially useful when you rotate between instruments with different body depths or when a strap comes off for cleaning, travel, or a hardware change.
Use the same setting for a few rehearsals before you decide it is final. Your body needs time to tell you whether the position really works through a long session. A setup that feels dramatic for five minutes can become tiring over an hour. Conversely, a small change that first feels unfamiliar may be the one that lets your hands stay loose later in the set. The Guitar Culture journal has more on the materials and working life of handmade straps.
The best adjustment is the one you stop thinking about. Your guitar stays where you expect, your hands find the notes without a fight, and the strap feels like part of the instrument rather than another problem to manage.
Made around the player
Get the length, leather, and hardware right from the start.
Use the measurement guide for belts and collars, then visit custom orders to discuss a handmade strap built around your guitar and preferred playing height.
Questions about adjusting a leather guitar strap
How high should I wear a guitar?
Set the guitar where both hands can work without reaching or bending sharply. A practical starting point is to match the position you naturally use while seated, then make small changes while standing until chords, bends, and picking feel equally controlled.
Should a leather guitar strap stretch over time?
Leather can settle slightly with regular use, especially when new. A well-made strap should not change dramatically. Check the fit after a few long playing sessions before committing to a fixed-length custom strap.
How do I shorten a buckle-adjustable leather guitar strap?
Move the buckle or the adjustment tail one hole or slot at a time, then put the guitar on and play. Keep the strap flat and make the same change on both sides when the design uses two adjustment points.
What if my guitar strap is still too short at its longest setting?
Do not force the end holes or add an improvised extension. You need a longer adjustment range or a custom-length strap. Measure the button-to-button distance at your real playing height so the next strap is built for the way you play.
Related posts
Workshop guide
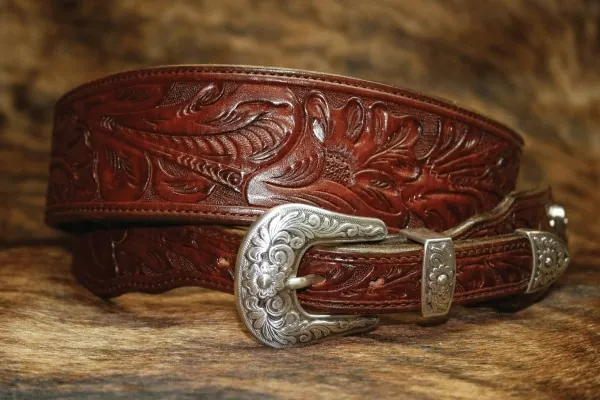
How to Make a Leather Guitar Strap
A practical guide to the leather, layout, construction, and finishing choices behind a durable handmade guitar strap.
Read the guide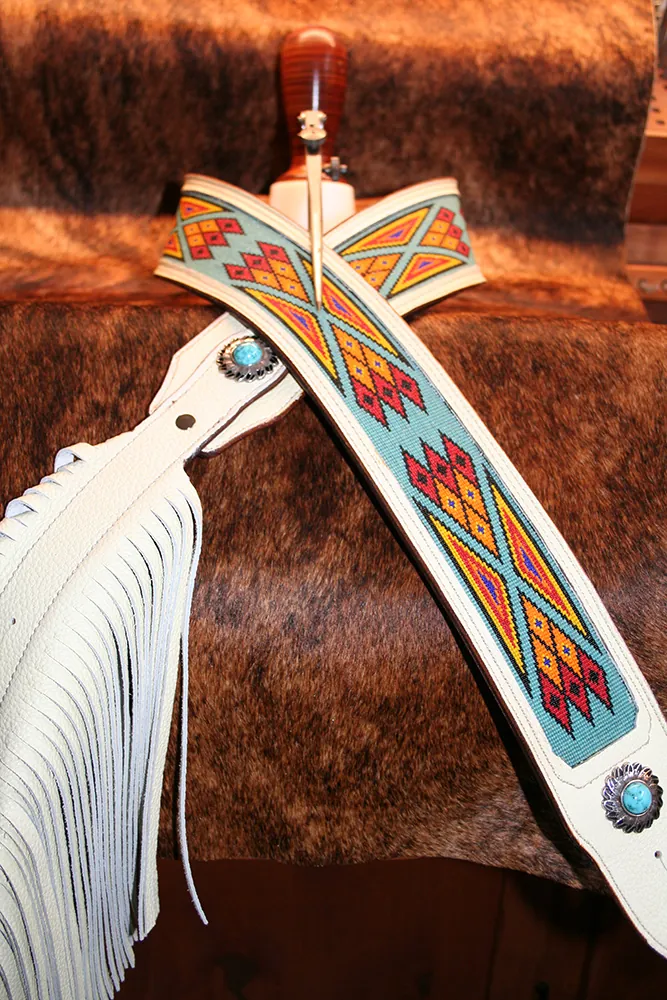
Guest post
Saddle Leather on a Stage: Western Straps and Rock
A guest post from Arizona vintage-guitar dealer Joe on the saddle-making roots, comfort, and lasting character of a well-made leather guitar strap.
Read Joe’s article