

An acoustic guitar strap should make standing up with your guitar feel ordinary, not precarious. The right attachment depends on what your instrument already has: two strap buttons, one endpin and a headstock tie, or an endpin jack. Start there, make each connection secure, then set the length for the way you actually play.
The details are small, but they matter. A strap can be handsome, well made, and perfectly comfortable yet still be the wrong choice if its ends do not suit the guitar's buttons or its adjustment fights your playing position. This guide covers the common acoustic setups and the checks worth making before a rehearsal, open mic, or long session.
First, identify your acoustic's attachment points
Before putting a strap on, look for the connection points that are already on the instrument. Many acoustics have a strap button at the tail end and a second button near the heel or upper bout. Others have only the tail-end button, which is a normal setup, not a missing part. Some pickup-equipped guitars use an endpin jack at the tail that also holds the strap.
Do not assume that an acoustic works exactly like an electric. The neck-end placement, body depth, electronics, and internal construction can all change the sensible option. Taylor's strap-fitting guide distinguishes the common two-button and one-button arrangements, while Martin offers a headstock tie specifically for guitars without a heel button.
Once you know the setup, inspect it. Buttons should be firm, the endpin or jack should not rock, and the leather around your strap holes should not look stretched, split, or cracked. A strap accessory cannot make a compromised connection safe. Solve the loose part first.
How to attach a strap to an acoustic with two buttons
With the guitar supported, attach the strap end that will sit at the tail of the guitar first. Push the hole in the leather fully over the button head, rather than leaving it caught on the edge. Then attach the neck-end hole to the second button. The two ends should lie flat without twisting the strap.
Give each end a light, deliberate tug. You are checking that the button is seated inside the hole and the leather is resting beneath the button head. Do not pull hard enough to test the guitar or the strap to failure. A quick visual and hand check is the habit that matters.
Orient the adjustment so it does not land directly on the shoulder's pressure point. On a two-piece leather strap, that may mean choosing which end takes the tail section before putting it on the guitar. Then set the guitar at the height where your hands reach familiar chords without lifting the shoulder or sharply bending the wrist. Our leather strap adjustment guide gives a simple standing-fit test.

How to attach a strap to an acoustic with one button
A one-button acoustic still needs two points of support. Attach one end of the strap to the tail-end button, then bring the other end toward the headstock. Use the lace or purpose-made adapter that came with the strap, or choose a headstock tie made for that job. Thread it through the hole at the neck end of the strap.
At the headstock, pass the tie beneath the strings behind the nut, then secure it according to the adapter's instructions. The tie belongs behind the nut, not around the tuning machines or through a string path. It should hold the strap without rubbing against moving hardware or making the guitar feel pinched when you turn the tuners.
This arrangement feels different from a heel-button attachment. The balance point may move slightly, and the guitar can hang closer to the centre of the body. That is not automatically good or bad. Play a few familiar chords while standing, then make small length changes until the neck and body settle naturally. If the strap twists, the tie binds, or the guitar feels unstable, stop and recheck the connection before playing on.
How to handle an endpin jack
An acoustic with onboard electronics may use its output jack as the tail-end strap holder. These jacks can be larger than a standard button, so a normal strap hole may not fit correctly. Do not force thick leather over a jack or cut a hole bigger by guesswork. The fit needs to suit that particular hardware.
Taylor's endpin-jack instructions show why the strap must seat all the way beneath the flange. The exact method can differ by jack design, but the principle stays the same: the leather end needs the right opening, the hardware needs to be fully engaged, and the cable path must remain clear when you plug in.
For a guitar you plug in regularly, test the strap with a cable in place at home before a show. Make sure the cable seats normally and the leather does not crowd the connection. A strap that works on a standard button is not automatically suited to an endpin jack.

When to use a headstock tie, second button, or a technician
A headstock tie is a good answer when you want a non-permanent neck-end attachment. It is also sensible for a vintage, valuable, or unfamiliar acoustic where you do not want to alter the instrument until you have spoken with someone who knows its construction. Choose a tie made for guitars, and check it before each use.
A second strap button can make daily standing play more direct and stable, but it is a permanent modification. Gibson's guide to adding an acoustic strap button makes the tradeoff clear: placement affects both practical use and the instrument itself. That is a job for a qualified technician when the guitar is valuable, the placement is uncertain, or the existing hole needs attention.
There is no prize for solving this with a hurried drill or an improvised knot. A small professional setup costs less than a damaged heel, a repaired finish, or a guitar that falls during a song. Decide which arrangement suits the instrument, then let that choice guide the strap.
Set the length after the connection is secure
Once the attachment is settled, stand with the guitar where you normally play. Let your shoulders relax. Check an open-chord shape, a higher-neck passage, and any position you use for fingerstyle or flatpicking. The strap is doing its job when you can reach the guitar without hunching over it or holding it up with your fretting hand.
Then play for more than a minute. A guitar that feels fine while you admire it in a mirror can show a pressure point after a few songs. If the shoulder aches, look first at strap width and playing height. If the guitar drifts or twists, check the attachment and adjustment. The guitar strap width guide can help with the support side of that decision.
Sit down with the strap still attached too. The guitar does not need to land in exactly the same position, but it should stay controlled without an awkward buckle under the arm or a neck-end tie pulling in a distracting way. This small test is particularly useful for singer-songwriters who move between a chair and a standing microphone.
Keep the attachment trustworthy
Before a longer session, check the two strap ends, the buttons or jack, and the adjustment. Look for stretched leather, loose screws, a tie that has moved, or hardware that no longer seats cleanly. Those checks take less time than unpacking a guitar after it has slipped.
For active playing, a locking system or strap block can be an extra layer of confidence, but it is not a repair for damaged leather or a loose button. Read our guitar strap locks guide for the difference between a mechanical lock and a removable block, and the hardware guide for the ordinary parts that make a secure connection work.
Keep leather dry after rain or a hot outdoor set, and store the strap in a loose curve rather than a hard crease. The marks from real music are welcome. Avoidable stress at the holes, tie, or buckle is not.
Choose the strap around the acoustic, not the other way around
The best strap for an acoustic begins with the instrument's actual attachment points, your normal playing height, and how long you stand with it. From there, leather weight, width, adjustment, hand tooling, and beadwork can make the strap feel properly yours without getting in the way of the work.
Southwest Distinctions makes leather straps around those practical choices. Browse the handmade guitar strap collection, see the options for acoustic guitar straps made to order, or begin a custom order with a photo of your guitar and a note about how it attaches.
Built around your guitar
Start with the attachment. Then make the strap feel like it belongs there.
Explore handmade leather guitar straps, or begin a custom order with a photo of your acoustic and the way you play.
Questions about attaching an acoustic guitar strap
Can I attach a strap to an acoustic guitar with one button?
Yes. Attach one end to the endpin, then use a purpose-made headstock tie or adapter at the neck end. Put the tie beneath the strings behind the nut, not around the tuning machines.
Should I add a second strap button to my acoustic guitar?
A second button can make sense for regular standing play, but it is a permanent modification. Check the maker’s guidance or use a qualified guitar technician, especially with a valuable or unfamiliar instrument.
How do I attach a strap to an acoustic guitar with an endpin jack?
Use a strap end with a hole sized for the jack and seat it fully beneath the flange. Follow the guitar maker’s instructions, because endpin-jack shapes vary.
Do I need strap locks on an acoustic guitar?
Not necessarily. Start with sound buttons, intact leather ends, and a fully seated strap. Locks or blocks can add confidence for active standing play, but they do not repair a loose button or worn strap end.
Related posts
Guitar Culture
Leather Guitar Straps for Acoustic Guitars: What to Look For
A practical guide to choosing a leather guitar strap for an acoustic guitar, from attachment and fit to shoulder support and lasting style.
Read the guide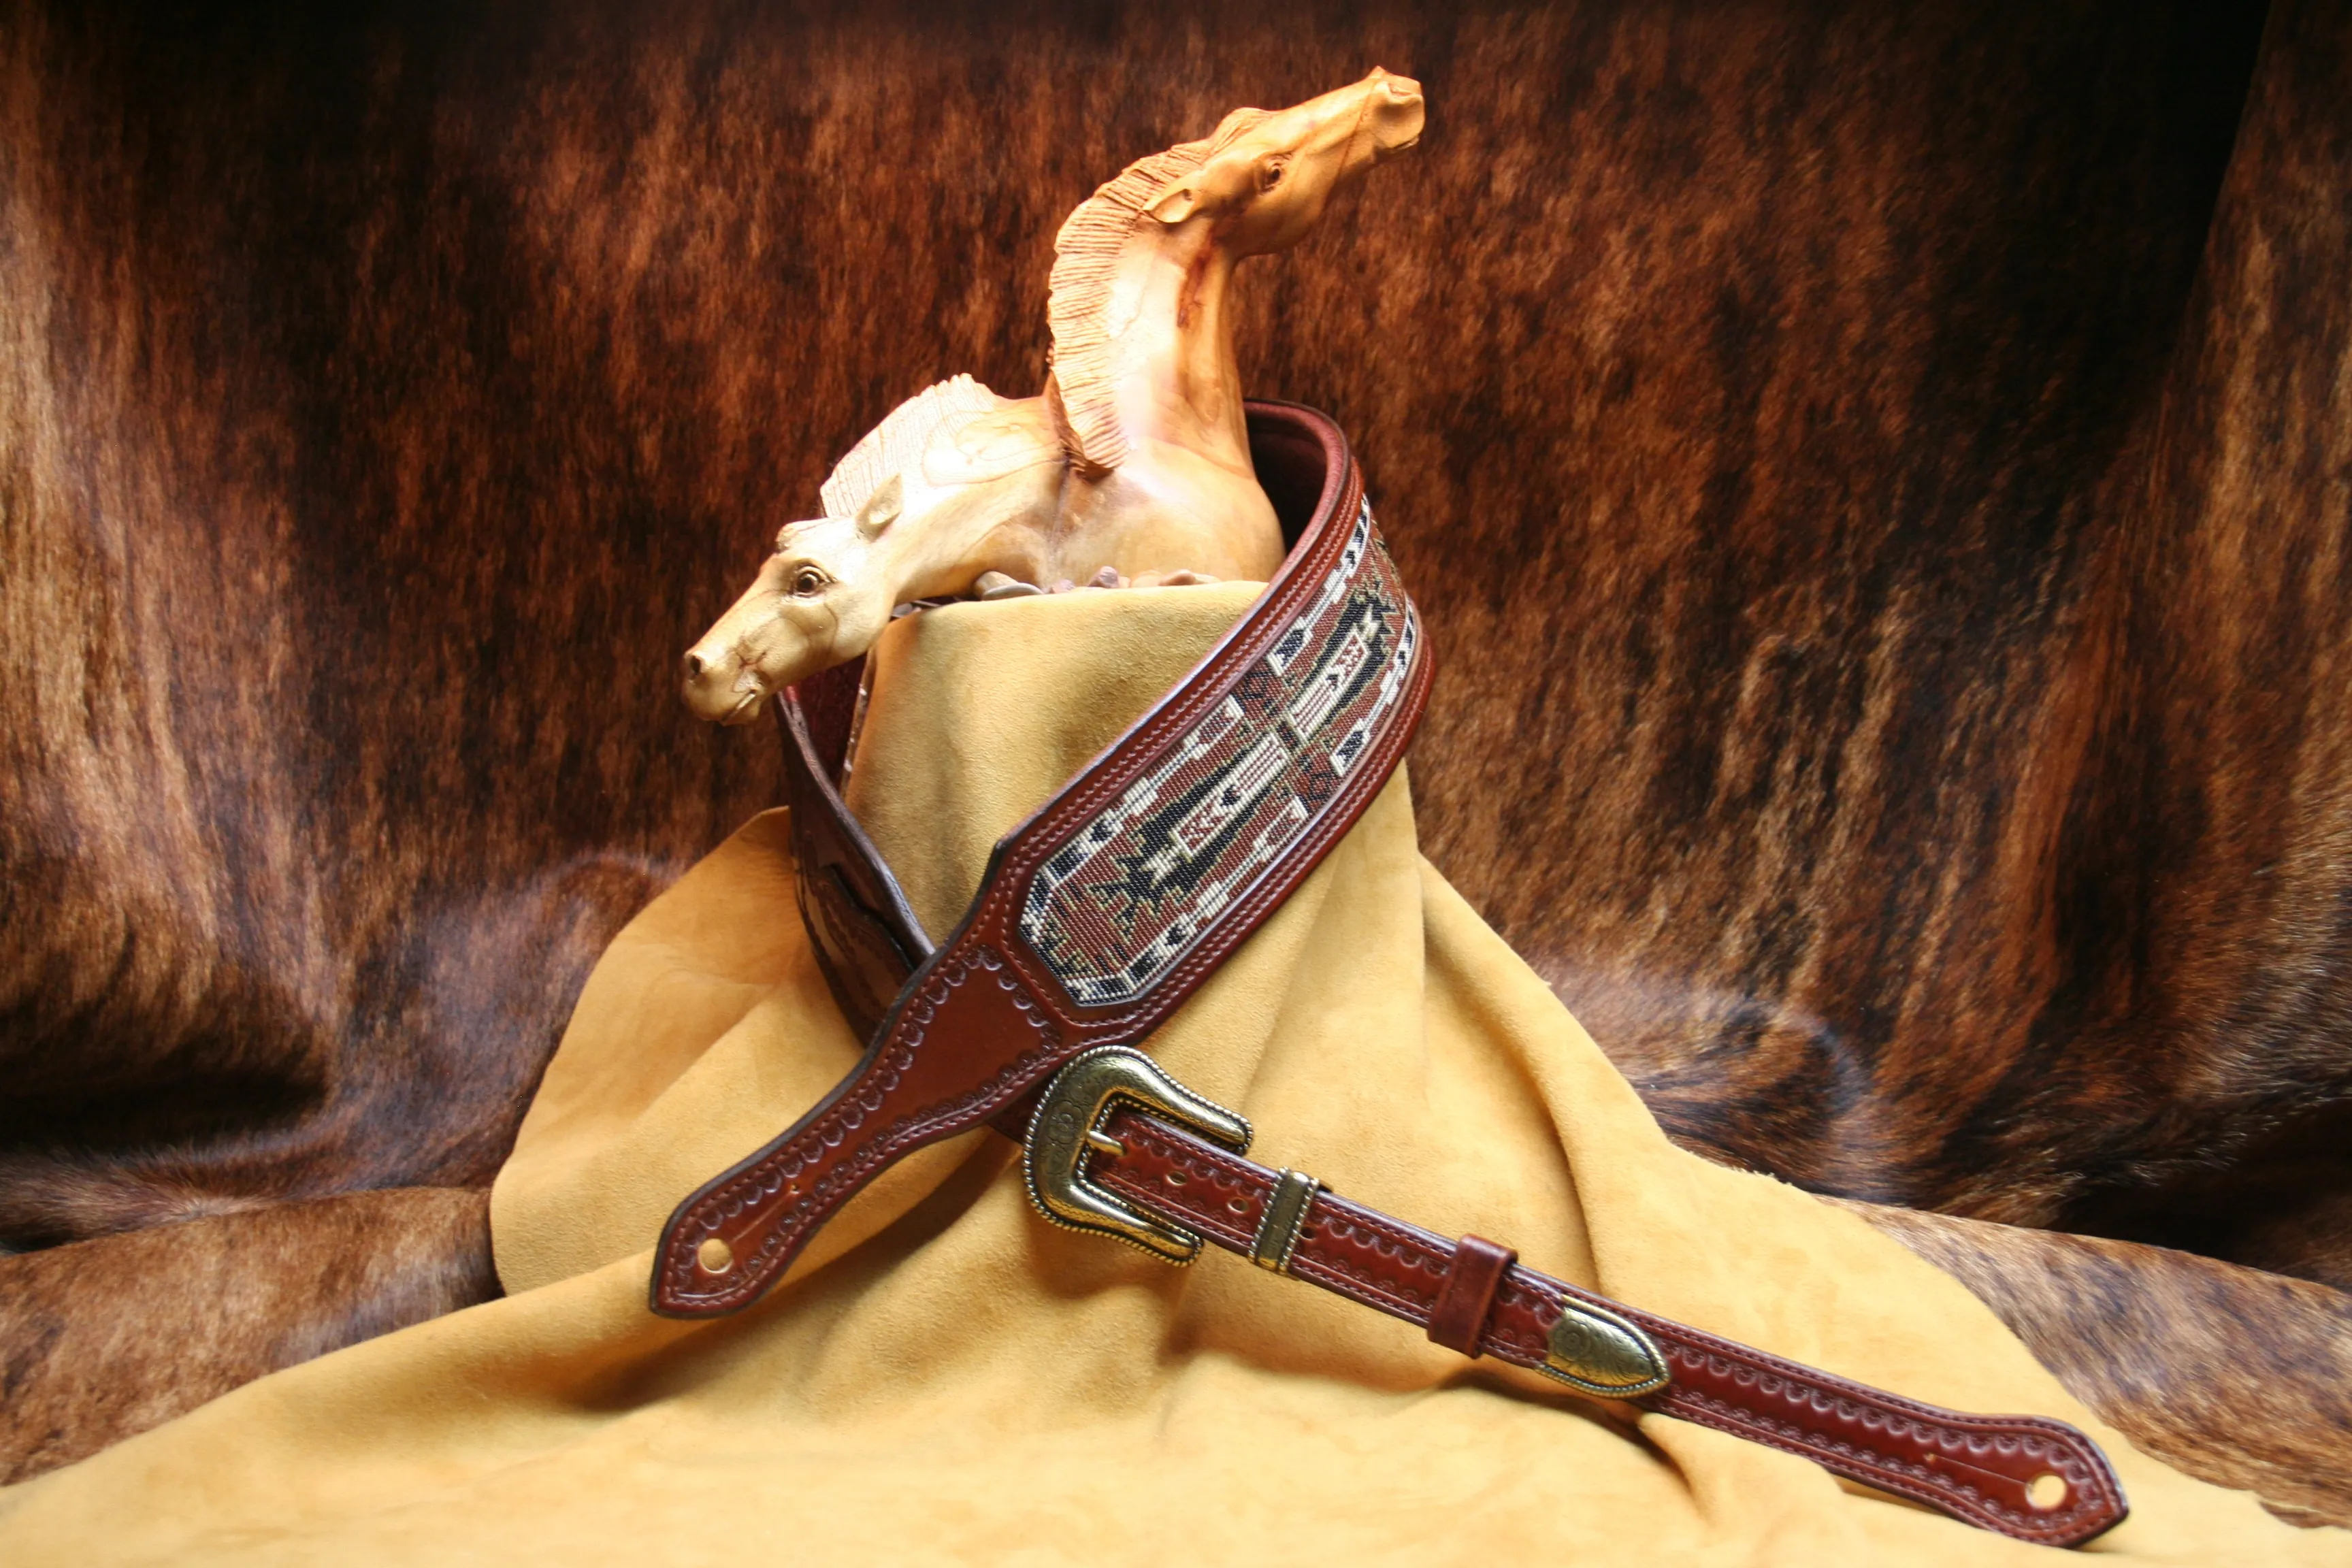
Guitar Culture
Guitar Strap Hardware: What Holds the Fit Together
A practical guide to guitar strap hardware, from leather ends and adjustment fittings to secure everyday checks.
Read the guide
Guitar Culture
Guitar Strap Locks: A Practical Guide
A practical guide to choosing guitar strap locks, strap blocks, and a secure setup for the way you play.
Read the guide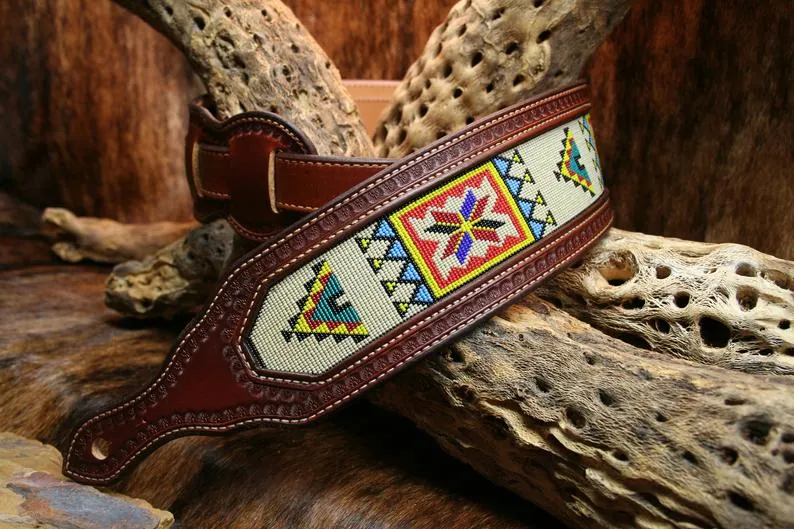
Guitar Culture
How to Adjust a Leather Guitar Strap
A practical way to set the right length, playing height, and comfort for a leather guitar strap.
Read the guide